
Walk into almost any modern diagnostic laboratory and you will find an immunoassay analyser at the centre of the workflow. Thyroid panels, fertility hormones, tumour markers, cardiac markers, hepatitis and HIV screening: a large share of the tests that clinicians depend on every day are run on a chemiluminescence immunoassay (CLIA) analyser.
Yet for many people who use these instruments, the technology behind them stays a bit of a black box. This guide opens it up. We explain how CLIA works, what these analysers measure, what to look for when choosing one, and how to look after it so that the results you release can be trusted. (A note on the acronym: in the United States, CLIA is also the name of a laboratory regulation, the Clinical Laboratory Improvement Amendments. In this guide, CLIA means the technology.)
What is a CLIA analyser?
A CLIA analyser is an automated instrument that measures the concentration of specific substances in a patient sample, usually serum or plasma. These substances, called analytes, include hormones, proteins, antibodies, antigens, vitamins and drugs.
It combines two ideas. The first is the immunoassay: antibodies bind very specifically to the substance being measured, which lets the test pick out one molecule among thousands. The second is chemiluminescence: a chemical reaction that gives off light, which the instrument measures with great sensitivity. The brighter or dimmer the light, the more or less of the analyte is present.
How chemiluminescence works
Chemiluminescence is the production of light by a chemical reaction. Unlike fluorescence, it needs no external light source to excite the label, so there is very little background signal. That low background is a major reason CLIA methods are so sensitive.
In an immunoassay, an antibody or antigen is tagged with a chemiluminescent label. Two common approaches are:
- Direct labels, such as acridinium esters, which release light when trigger reagents are added.
- Enzyme labels, such as alkaline phosphatase, which act on a substrate that emits light as the reaction proceeds.
A detector called a photomultiplier tube, housed in the luminometer, counts the light and reports it in relative light units (RLU). The analyser then converts the RLU into a concentration using a calibration curve that was built from calibrators of known value. Because RLU values are specific to each instrument, they only mean something when read against that instrument’s own calibration.
The main assay formats
Different analytes call for different test designs. Most CLIA tests fall into three formats.
Sandwich assays are used for larger molecules such as TSH, many tumour markers and cardiac proteins. One antibody captures the analyte and a second, labelled antibody binds to it on the other side, so the analyte is sandwiched between the two. More analyte means more label and more light.
Competitive assays are used for small molecules such as many steroid and thyroid hormones, which are too small to bind two antibodies at once. The analyte in the sample competes with a labelled version for a limited number of antibody sites. Here the relationship is reversed: more analyte in the sample means less light.
Antibody capture assays are used to detect antibodies themselves, such as IgM and IgG in infectious disease testing. The instrument captures the patient’s antibodies and detects them with a labelled reagent.
A test run, step by step
Although details differ between models, a typical run follows the same pattern:
- The sample and reagents are loaded, and the analyser pipettes the required volumes into a reaction cuvette.
- The mixture is incubated so that antibodies and analyte can bind.
- Magnetic microparticles, coated with antibody, hold the bound complexes while a magnet pulls them to the side of the cuvette.
- A wash step removes everything that did not bind, including unbound label. This separation is what makes the result specific.
- Trigger solutions are added, and the label produces light.
- The luminometer reads the light, and the software calculates the result from the calibration curve.
- The result is checked against quality control rules and flags, then sent to the laboratory information system.
All of this is automated, so one operator can process many samples with consistent timing, something that is hard to achieve by hand.
What can a CLIA analyser test?
The menu is broad, which is why CLIA analysers sit at the heart of many laboratories. Typical categories include:
- Thyroid function: TSH, free T3, free T4
- Reproductive and fertility hormones: FSH, LH, prolactin, oestradiol, progesterone, testosterone, beta-hCG
- Tumour markers: PSA, CEA, AFP, CA 125, CA 19-9, CA 15-3
- Cardiac markers: troponin, NT-proBNP, CK-MB, myoglobin
- Infectious disease: hepatitis B markers, hepatitis C, HIV, syphilis and others
- Anaemia and nutrition: ferritin, vitamin B12, folate, vitamin D
- Metabolic and endocrine: insulin, C-peptide, cortisol, parathyroid hormone
The exact menu depends on the manufacturer and the reagents your laboratory buys, so always check it against your test volume and case mix.
Why laboratories choose CLIA
Compared with manual ELISA and older methods, CLIA offers several practical advantages:
- High sensitivity, so low concentrations can be measured reliably.
- A wide measuring range, which means fewer samples need dilution and repeating.
- Automation, which reduces hands-on time and operator-to-operator variation.
- Small sample volumes, which matters for paediatric and precious samples.
- Faster turnaround, with random access and priority handling for urgent samples.
- Better traceability, because reagents, calibrations, controls and results are logged by the software.
Inside the analyser: the main components
Knowing the parts helps you understand where problems start and why certain maintenance tasks matter.
- Sample handling: racks or trays, barcode reader and a sampling probe that aspirates sample.
- Reagent compartment: a refrigerated area that stores reagent packs on board.
- Reaction and incubation unit: the cuvettes and temperature-controlled area where binding takes place.
- Separation and wash station: the magnet and wash system that remove unbound material.
- Fluidics: tubing, pumps, valves, wash buffer and waste lines.
- Luminometer: the photomultiplier tube and optics that read the light.
- Software: calibration, QC, flags, result review and connection to the laboratory information system.
Probes, tubing and the wash station are the parts that touch samples and reagents every day, so they are the first places contamination and carryover show up.
Choosing the right analyser
Before buying, look beyond the brochure and ask practical questions:
- Test menu: does it cover the tests your clinicians actually request, now and in the next few years?
- Throughput: can it handle your peak hours, not only your average day?
- Reagent stability on board and calibration frequency: these affect waste and workload.
- Reagent availability and cost per test: can you get consistent supply locally?
- Open or closed system: know what you are tied to.
- Service and support: how fast can an engineer reach you, and is training included?
- Footprint and installation needs: space, power, water, drainage and temperature control.
Local conditions matter. In many settings, including Nigeria, an unstable power supply, high ambient temperature and dust are real risks. A good UPS or voltage stabiliser, reliable air conditioning and a clean, stable workspace protect both the analyser and the reagents.
Maintenance and daily care
A CLIA analyser is a precision instrument, and small lapses rarely cause an instant failure. They cause drift: slightly higher imprecision, more repeats, more flags, and results that are harder to trust. Consistent routine is the best protection.
The exact tasks and schedules vary by model, so always follow the manufacturer’s manual. In general, good practice looks like this:
Every day
- Check levels of wash buffer, trigger solutions and waste, and top up or empty as required.
- Run the start-up routine, prime the fluidics and look for bubbles or leaks.
- Inspect the sampling probe and clean it as instructed.
- Run quality control before patient samples, and review the results before you proceed.
Weekly and monthly
- Carry out the deeper cleaning and maintenance procedures listed for your model.
- Check consumables such as cuvettes, filters and tubing for wear.
- Review QC trends, calibration records and the error log for patterns.
Ongoing
- Store reagents at the recommended temperature and load them according to the instructions for use.
- Keep the maintenance log up to date, because records help you spot patterns and support audits.
- Schedule preventive maintenance visits with the service engineer rather than waiting for a breakdown.
- Make sure every operator is trained and has read the procedures.
Quality control and troubleshooting
Quality control is the early warning system. Run at least two levels of control material at the frequency your quality standard requires, plot the results on Levey-Jennings charts, and apply multirule QC such as the Westgard rules. A shift or trend often appears days before a result is clearly out of range.
When things go wrong, some usual suspects are:
- Poor precision or drift: often caused by dirty probes, air bubbles, worn tubing or inconsistent reagent handling.
- Calibration failures: can come from expired or poorly stored calibrators, or from problems with the reagent lot.
- Carryover: a high sample affecting the next one, usually linked to the probe or wash system.
- Clots or insufficient sample: these cause sampling errors and unexpected flags.
There are also biological and chemical effects that every laboratory should understand:
- The high-dose hook effect: in some sandwich assays, a very high analyte level can saturate both the capture and signal antibodies, stop the sandwich from forming and produce a falsely low result. This is well documented with prolactin in some pituitary tumours. Diluting the sample and repeating the test reveals it, because the result rises after dilution.
- Biotin interference: high-dose biotin supplements can interfere with assays that use biotin and streptavidin chemistry. In sandwich assays, results can be falsely low; in competitive assays, they can be falsely high. The US FDA issued a safety warning in 2017 and updated it in 2019, and the effect varies between manufacturers, so ask your supplier which of your assays are affected. Ask about supplements when a result does not fit the clinical picture.
- Heterophilic antibodies: these can bind the assay antibodies and cause false results, most often falsely high ones in sandwich assays. Serial dilution, a heterophile-blocking tube or testing the sample on another method can help confirm it.
When a result does not make clinical sense, the laboratory’s job is to question it before it is released.
Where the Zybio EXI-1800 fits
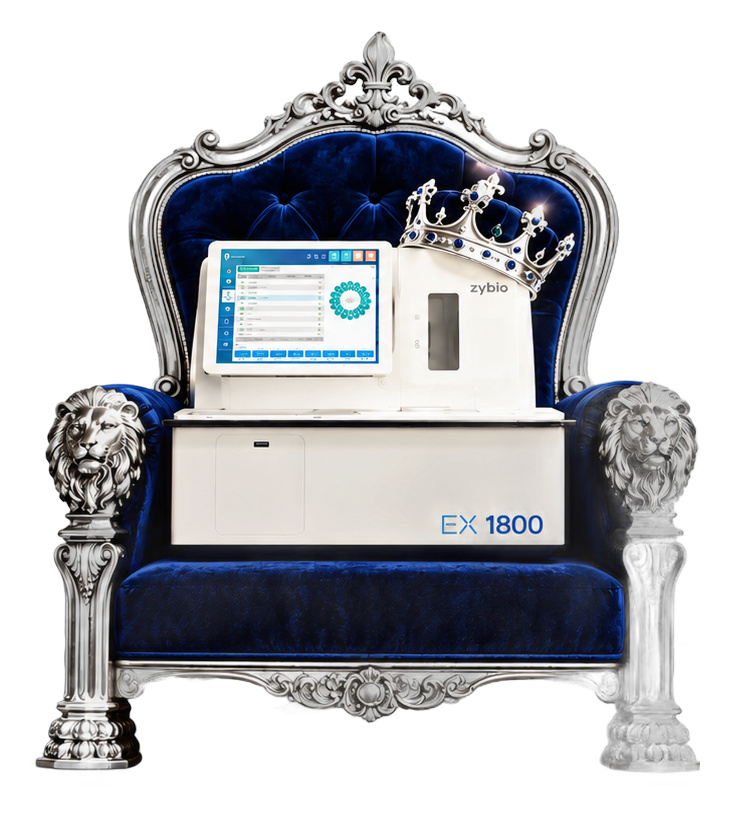
The Zybio EXI-1800 is one of the CLIA systems available to laboratories, and at Laboria we call it the king of CLIAs. According to the manufacturer, it is a compact benchtop analyser that runs up to 180 tests per hour, using enzymatic chemiluminescence with an alkaline phosphatase label and magnetic separation. Its test menu covers areas such as thyroid, fertility, cardiac markers, diabetes, inflammation, tumour markers and SARS-CoV-2. Like every analyser, however, its performance over the years depends as much on how it is maintained, supplied with reagents and operated as on its design.
Key takeaways
- CLIA combines the specificity of antibodies with the sensitivity of light detection, and it automates the whole process.
- Understanding the assay formats helps you understand unusual results, such as the hook effect.
- Choose an analyser for your test menu, workload, supply chain and support, not for the brochure alone.
- Small lapses in cleaning, reagent handling or maintenance cause slow drift, not sudden failure, so a consistent routine is your best protection.
- Quality control, record keeping and trained operators turn a good instrument into a reliable laboratory service.
A CLIA analyser is only as good as the care it receives. Looked after well, it will quietly support thousands of clinical decisions. Neglected, it will slowly make every one of them harder.
About Laboria
Laboria is a Nigerian company in in-vitro diagnostics and laboratory equipment. We share practical knowledge like this, and run training sessions for laboratory professionals, because laboratories get the most from their instruments when the people using them understand how they work.
Have a question about CLIA analysers in your laboratory? Contact the Laboria team at hello@laboria.ng or on 07079465679, or visit www.laboria.ng.